
These settings control the way jobs will be assigned from the Dispatch Console to the drivers, and how the jobs will show in the Driver App.
Auto Dispatch
Enable or disable automatic assigning and dispatching of jobs. If Auto Dispatch is disabled, you will have to manually assign jobs to vehicles in the Dispatch Consol.
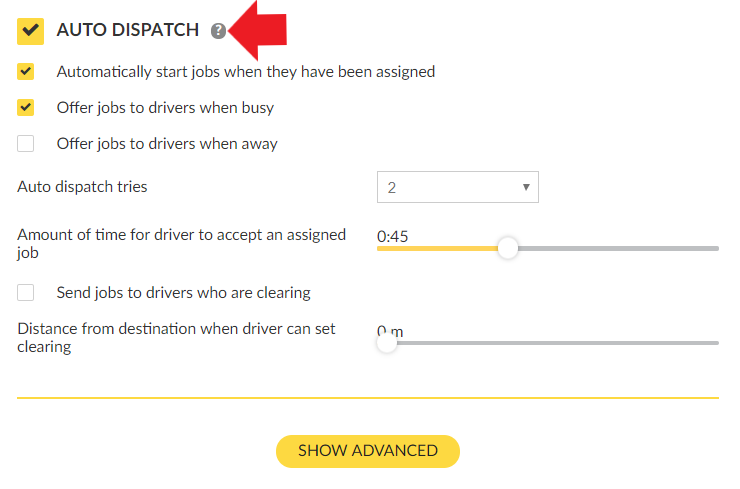
Automatically start jobs when they have been assigned:
Automatically start a job after it has been assigned to the driver without having to press Start in the Driver App.
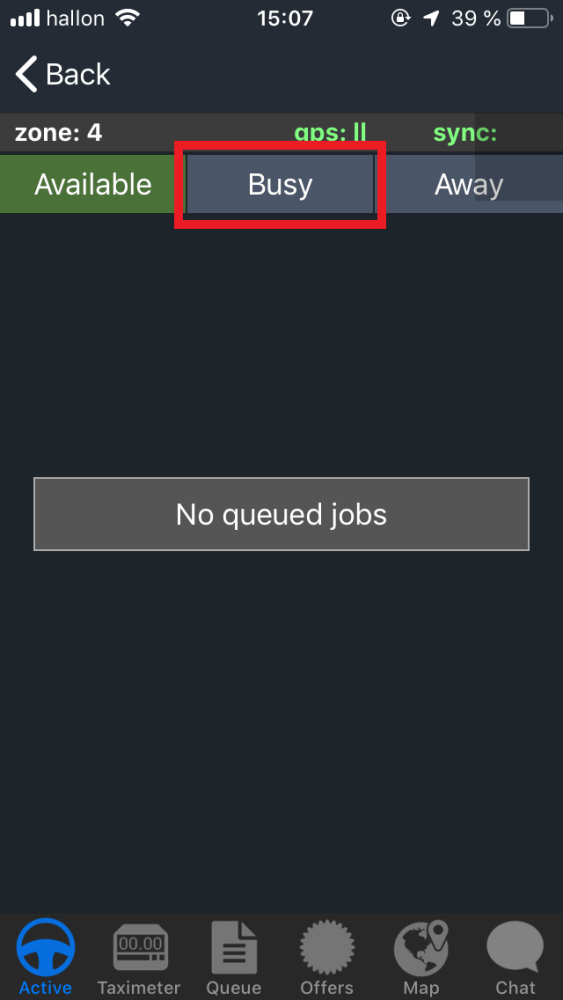
Offer jobs to drivers when busy:
The system will consider vehicles that are currently set to “Busy” in the Driver App when looking for the most suitable vehicle to assign a job.
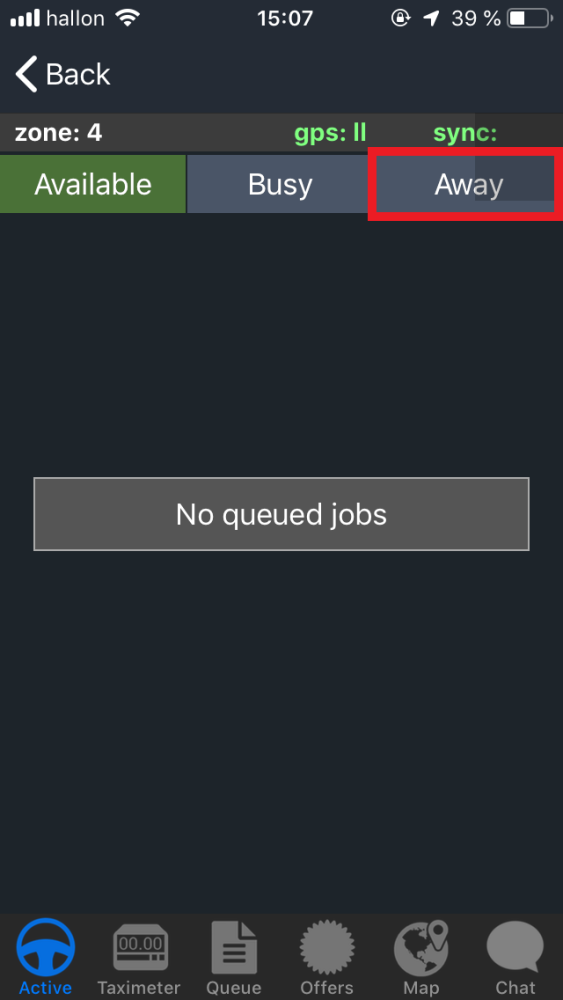
Offer jobs to drivers when away:
The system will consider vehicles that are currently set to “Away” in the Driver App when looking for the most suitable vehicle to assign a job.
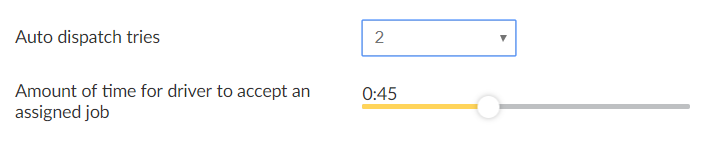
Auto dispatch tries:
This is the number of tries the system will make when automatically dispatching a job. For example, if it is set as 2 the system will try to assign this job 2 times. Which means that if the first driver that gets the job rejects it, it will go to a second driver.
After the determined number of tries that you set, there are more strategies that you could follow to assign the jobs.
For example, you could enable Broadcast. In the same example, after trying to assign the job 2 times, if both two times the job is rejected by the drivers, it will go to broadcast. In Broadcast, it will be offered to all drivers, and if accepted by more than 2 drivers, the system will select the best driver based on the assignment rules that you have set in your account, for example, could be the closest one.
For more information about Broadcast please visit the Advanced Auto Dispatch Section.
Once in broadcast, if no driver accepts the job, the job will land into Unassigned in the Dispatch Console. Where you will be able to hard-assign the job directly to a driver.
Amount of time for driver to accept an assigned job:
Use this feature to select how much time a driver will have to accept or decline a job that has been sorted to him/her. After this time, if the job has not been accepted or rejected, the job will be sorted to a different vehicle or will follow a specific rule that you might have set, for example, Broadcast.
Send jobs to drivers who are clearing
If this option is enabled, the system will consider vehicles that are currently set to “Clearing” (CLR) when looking for the most suitable vehicle to assign a job.
The Clearing function allows a driver to signal to the system that he/she is about to finish a job and thus will be available for a new one. Drivers can do this from the Driver App by changing the current state from “POB” to “CLR”. For more information about it visit the Driver App Manual.
Distance from destination when driver can set clearing:
Specifies the distance from the destination of the job from which the driver can set his status to “Clearing”. Which means that if the driver is further this limit the CLR bottom in the Driver App will not be visible.
Dispatch Timings
This section allows you to predefine a set of timing options in the system.
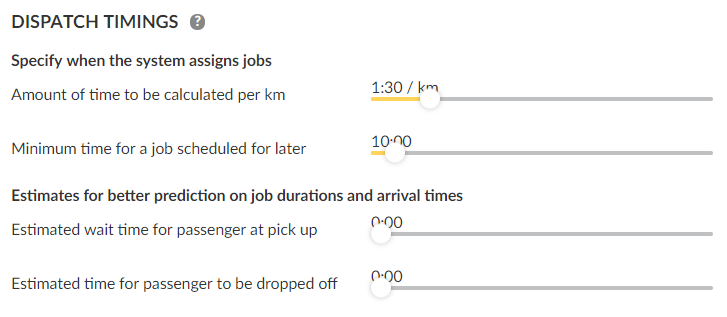
Specify when the system assigns jobs
Amount of time to be calculated per km:
The value you set here will be used by the system to estimate the time it will take to your driver to reach the pick-up point of the job.
This value specifically means the time it will take to your driver to travel 1 kilometer in your service area. In other words, you will choose how many minutes you estimate your drivers will take to travel 1 kilometer (min/km) depending on the operation conditions of your city.
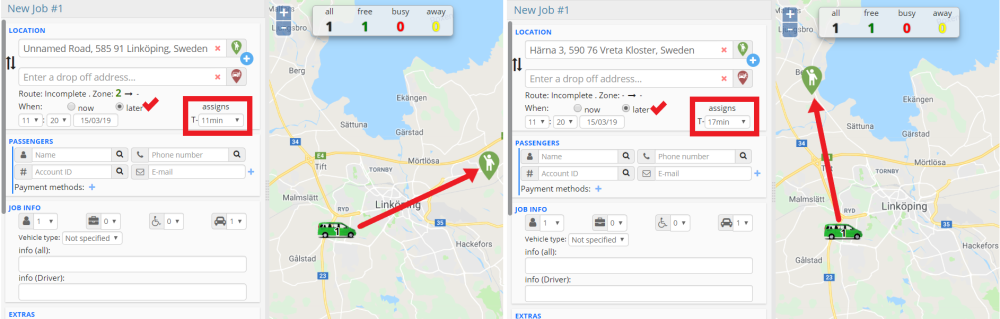
In the Taxicaller system, you will find this variable named as T-minus.
T-minus: The time that the system calculates from the center of the service zone to the pick-up position of the job.
And you will see this variable visible in the Dispatch Consol when doing a later job.
For example in the following jobs, the Amount of time to be calculated per km was set to 2:10 km, and depending on the pick-up of the jobs the t-minus changed due to the distance.
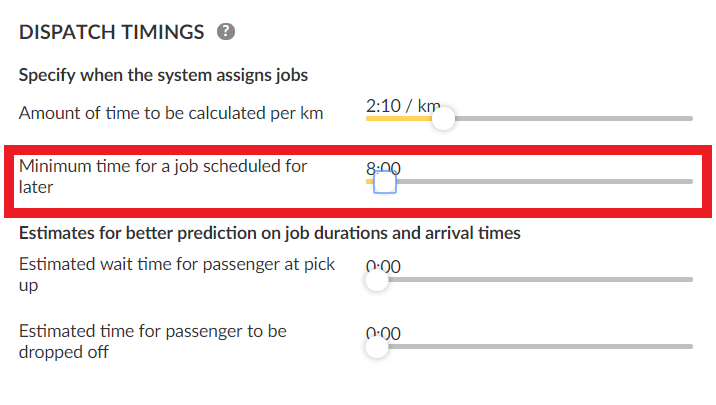
Minimum time for a job scheduled for later: Controls the minimum assignment time (T-minus) that the system will recommend for a job scheduled for later. You can see this assignment time in the dispatch console. A dispatcher will still be able to manually choose an earlier assignment time.
Estimates for better prediction on job durations and arrival times
Estimated wait time for passenger at pick up: This can be set according to how long your drivers usually have to wait for their passengers.
Estimated time for passenger to be dropped off: This can be set according to how long your drivers usually take to drop off passengers.
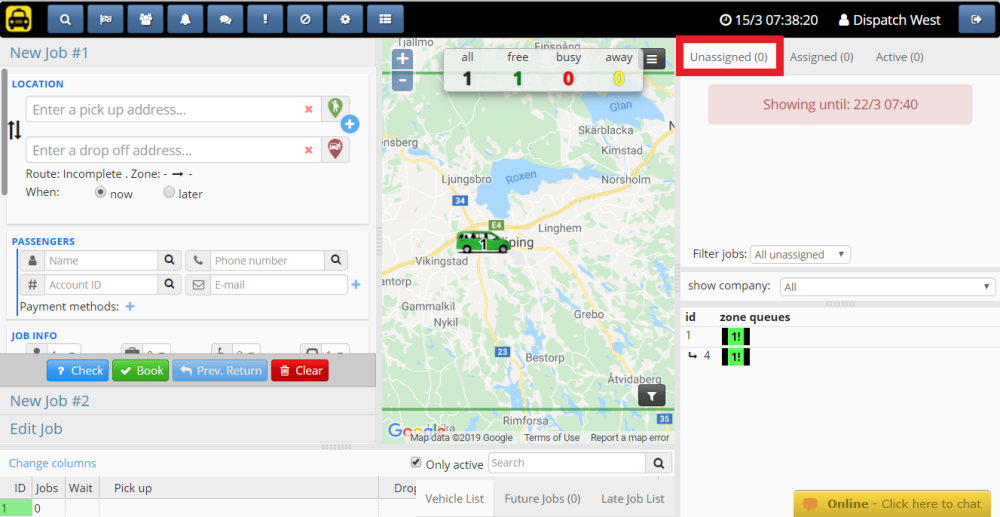
Zone Queues
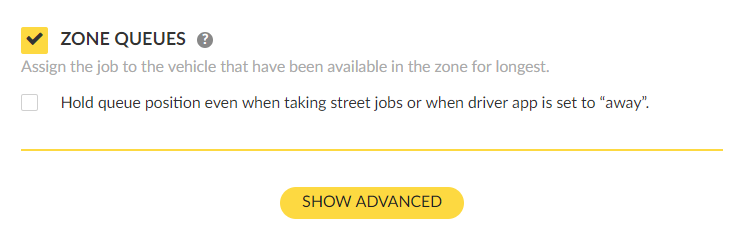
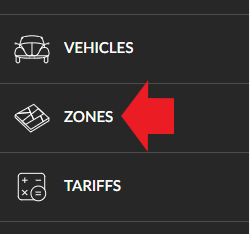
The section Zone Queues will control the assignment behavior of the Assignment Zones that you can configure in the Zones Section of the Admin Panel.
The system can be configured to use several variables to determine which vehicle is the most suitable to assign a job depending on your needs.
The system by default will assign the jobs to the closest vehicle from the pick-up location. However, if you enable zone queues, the rules of assignment will be based on the location of the vehicle regarding the Assignment Zone the driver is positioned in.
For example, in the following image, if the pick-up position of a job is made in the area where the vehicle 2 is located, the job will be assigned to that driver.
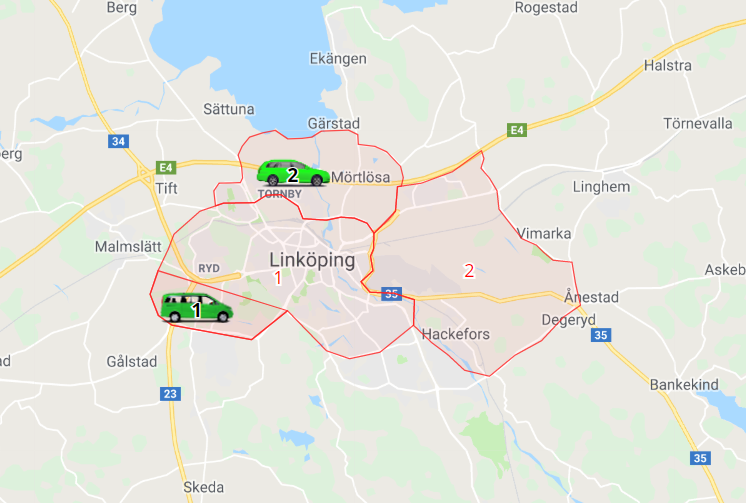
It will also take in consideration which vehicles have entered a specific zone in the map and will queue them in the zone queue of that assignment zone.
With no other modifications, it means that the vehicles that have been available the longest in a zone will be prioritized when it comes to job assignment. This way the jobs should be more fairly and evenly distributed.
Hold queue position even when taking street jobs or when driver app is set to “away”:
If this is active, a driver will not lose its queue position when the driver has pressed the “Busy (street job)” or “Away” button in the Driver App.