
Customize with company details
Customize your reception tool with your company logo and colors.
- Go to Booking Apps > Reception tool to choose your unique setting or use the following link: Reception tool
- Choose a custom URL for your reception tool. Simply type in the name of your company for example.

- Add your company logo in the next section. This will show up in the side menu of the reception tool. Logo artwork must be 256 × 256 px in size.
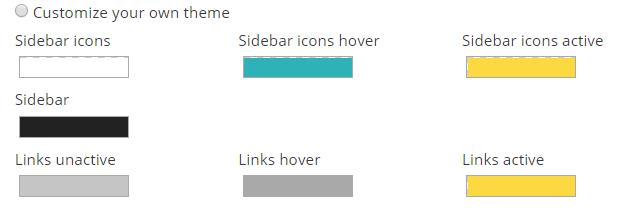
Choose one of our predefined themes for your reception tool colors or customize your own. You will have a preview on the right side of the screen to test different options.

To choose your own colors, click the Customize your own theme check box and then click on each option to input your color codes or use the color selector option. You will get a preview on the right side of the screen to see how your colors will look.
Inviting and linking accounts
In order for your clients to use the reception tool, you’ll need to invite them to use it:
- Go to Accounts > Customers to link a specific account by emailing them an invite. To see more about how a customer account is created, please click here
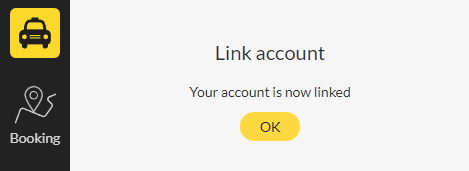
- Your client will then receive an invite email where they will need to click the “Join now” button.
To see more about how email addresses can be linked to customer accounts, please click here
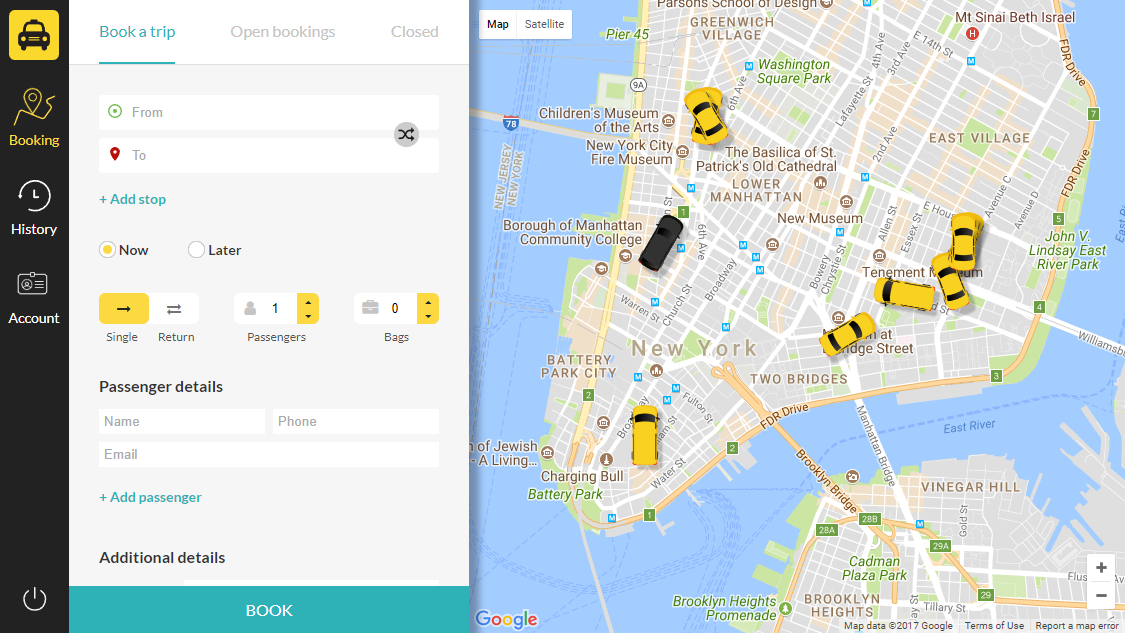
After clicking the button in the invite email, your clients will get to the reception tool to finish their sign up process.
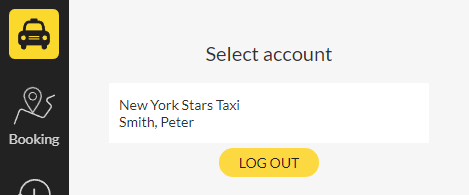
Once logged in, they will choose their account and get to the booking screen.
After choosing the account, the client will then be able to make bookings in the Booking section.